| Frank Serafine came over and showed us How to Assemble AN Fittings |
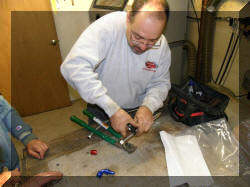 |
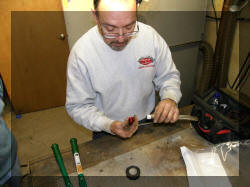
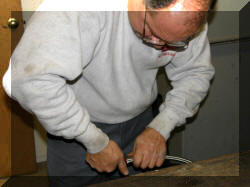
First step to cutting your braided line is to wrap the braided line with tape to keep the steel braid from fraying (Frank stated that electrical tape works best for this and you want to keep it to one wrap if possible). Getting a clean sharp cut is key in getting a nice installation. |
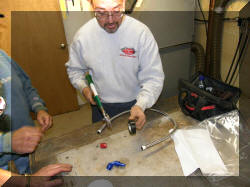 |
You need a nice square cut on the end of the hose. You can use a cut-off wheel, or band saw, but these tend to leave a rough cut and makes putting the fitting over the end of the hose hard. Frank uses a large wire cutter that gets a nice clean edge. |
|
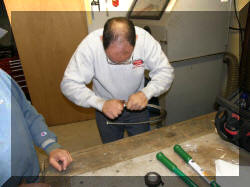
Next you need to insert the hose into the socket of the AN fitting. This is done with a twisting, pushing motion (these were a left handed thread) until the hose is fully in the fitting and seated against the lip on the inside of the socket. |
 |
 |
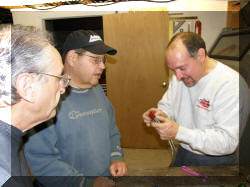 |
Once it is fully inserted, inspect your work. Then wrap a piece of tape at the base of the fitting on the hose so you can see if the hose is being pushed back out of the socket in the next steps. |
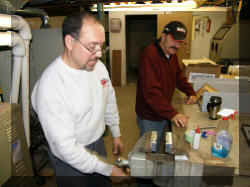 |
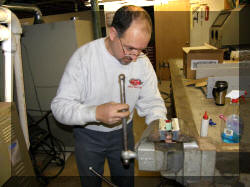
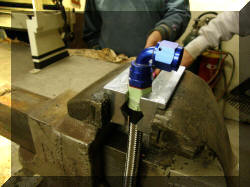
Next, place the socket and hose into a vise (Frank brought his vise insert to hold the fitting, this insert holds the fitting without marring it. You could wrap the fitting and carefully clamp it in the vise) |
 |
|
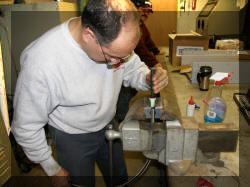 |
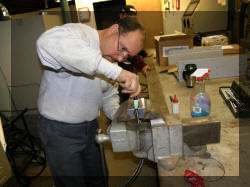
Once the socket and hose is in the vise, you want to insure that the hose end inside the socket is not collapsed. He used a metal cone to make sure the hose was still round and seated correctly in the socket. |
 |
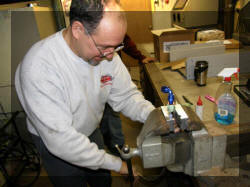
Liberally lubricate the inside of the hose, nipple threads and socket threads using S.A.E 30 lubricating oil. Carefully insert nipple and engage nipple and socket threads while holding hose in position with the other hand. |
 |
|
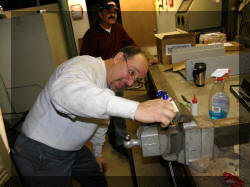 |
Complete the assembly using a wrench while continuing to hold the hose in position. Make sure the hose does not get pushed out of the socket. This is where that piece of tape you put on earlier helps out. You will be able to see if the hose is being pushed out of the socket. |
 |
Maximum allowable gap between the socket and the nipple is .031 inches. Your thumbnail is a convenient measuring device. Do not over tighten to the point where there is no gap. |