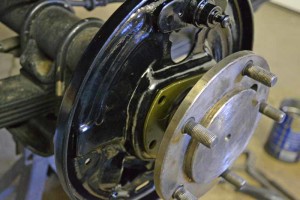
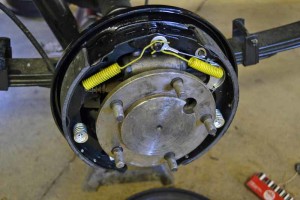
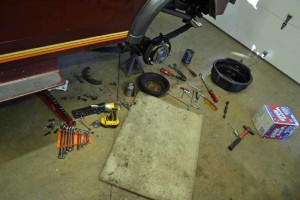
1984 Jeep CJ-7 Progress 2016 03 19 Left Rear Inner Axle Seal
Click Picture or Text for more pictures / details
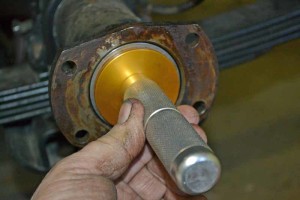
Last fall when I sealed the differential cover I noticed that there was oil seeping out of the left rear axle seal. I did not fix it before I put the Jeep away for the winter. At the time I thought it was a simple job, but found out through the Jeep Forum that the axle is a floating rear axle. I pulled it out of storage this week and have now replaced the seal. I may have to do it again as I found out I did several things wrong.
I have to give credit to Case Garrison, known as 60Bubba on the Jeep forum, as I have used some of his text in the description below. Any text in quotes is his text.
Note this is the left side and some of the things are side specific
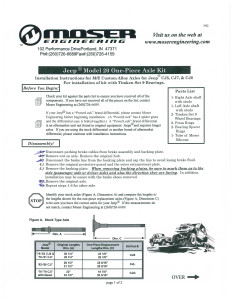 |
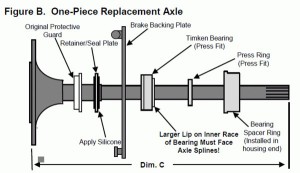
So let’s start this off with something I did not have. If you click here or on the picture it will take you to the Moser One Piece Axle Install Instructions |
 |
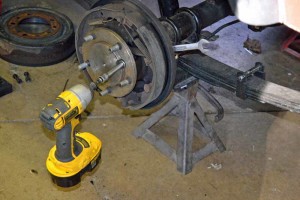
First step get the rear end up on jack stands |
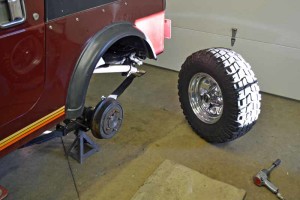 |
Remove the wheel and then the brake drum |
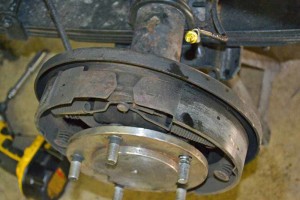 |
Remove the brake line from the wheel cylinder and cap the line so the brake fluid does not drain, otherwise you will be bleeding the brakes when the job is done |
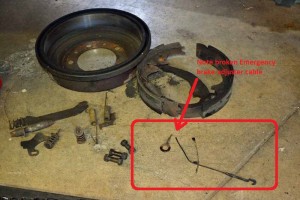
Remove the emergency brake cable form the activation lever on the rear brake shoe. You may find this easier to do if you remove the brake shoes from the backing plate first. Take inventory of any parts that need to be replaced, I found a broken emergency brake adjuster cable. I would highly recommend buying new linings and hardware if you are doing this job.
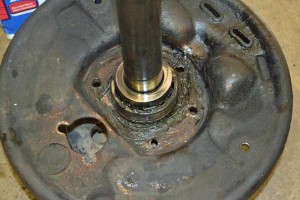
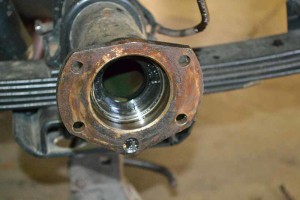
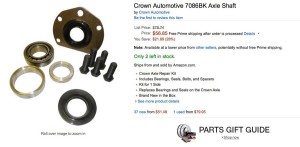
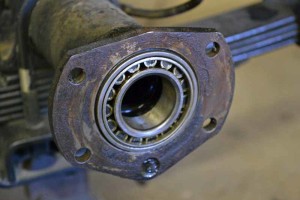
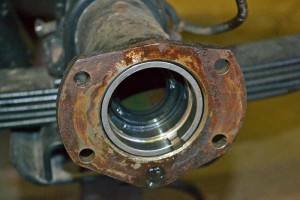
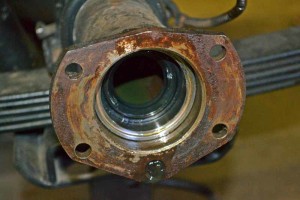
“The axle flange will have 5 bolt holes, but MOST Jeeps probably only have four bolts. You’ll notice the outer seal in the picture above has 5 holes, but the factory didn’t put a bolt in the hole that would form the point of the star. If your axle hasn’t been messed with, there will be a stamped sheet metal dust cover over the outer seal. For some reason I can’t fathom, that shield (which is sandwiched in with the outer seal, brake backing plate and the axle flange) only has four bolt holes, so that’s what they used. Some people recommend putting a bolt in the fifth hole when you reassemble, but I left it as the factory built it.”
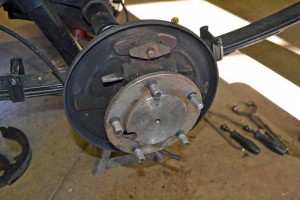 |
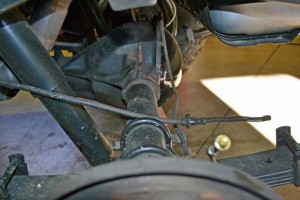
With brake line disconnected, the Emergency brake cable disconnected, and the four retaining bolts remove the axle is ready to come out. |
In my case, I did not need a pulled the axle just came out with very little effort. However if you must use a puller and slide hammer attached to the wheel studs to pull the axle out of the tube. Some people say you can put the drum back over the studs, loosely attach the lug nuts, and pull against the brake drum as a makeshift slide hammer.
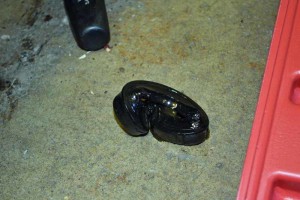
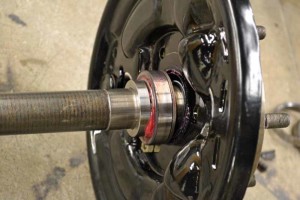
When I pulled the axle the outer race fell off the bearing.
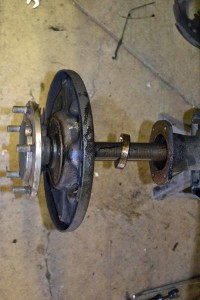
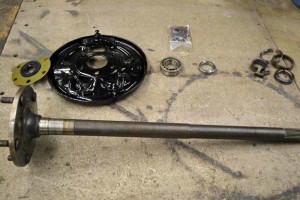
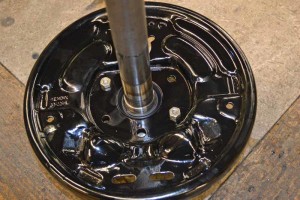
The bearing and press ring will remain on the axle which will not pass through the backing plate which is why you need to prepare the backing plate to come with the axle when removed by disconnecting the brake line and emergency brake cable.
Once the axle is loose, slide it out of the axle tube. Try not to let the axle bang against the housing.
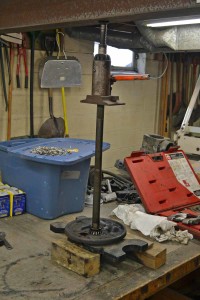
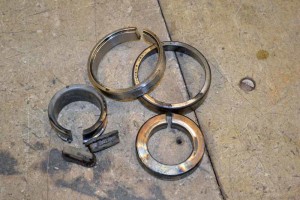
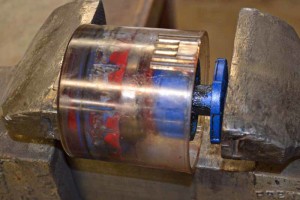
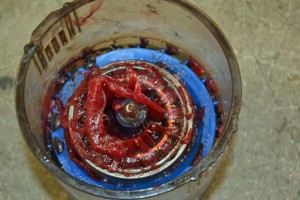
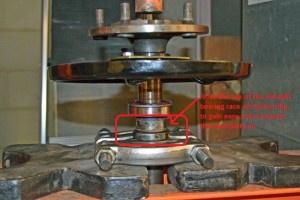
“The best way to remove the bearings (I confirmed this with Moser–they were helpful even though I don’t know that they made my axles) is to use something like a Dermal to grind off the cage and get rid of the rollers. Once they’re out of the way, you can CAREFULLY grind through the inner race.”
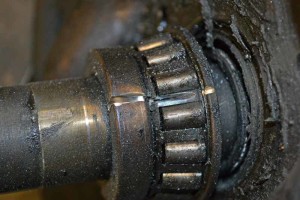 |
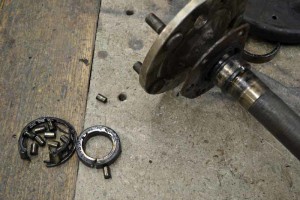 |
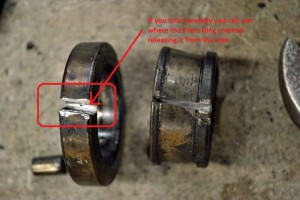 |
“The race actually popped from the stress before I ground all the way through. I used a flat screwdriver to spread the race enough to slide it off. I did the same thing to remove the lock ring.” |
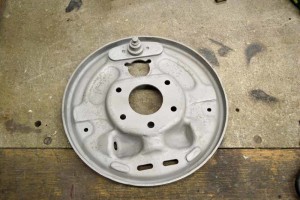
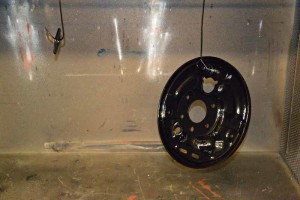
Sandblaster works wonders in cleaning up a nasty backing plate. Powder coat is a great way to protect the bare metal.
I was under the impression that the bearing was lubricated by the rear end oil, but that is incorrect. Case set me straight. “As for oiling the bearing, it is lubed by bearing grease in the stock one piece configuration. The inner and outer seal effectively hold that bearing grease in place in the last 4-5 inches of the axle housing. Diff oil DOES NOT get to the wheel bearing. Some people say you can drill holes in the inner seal and let diff oil lubricate the bearings, but that’s not how the setup was designed, so I wasn’t about to experiment. “
So before you put the bearing on the axle, pack it with grease. I have a handy dandy bearing packer which is WELL worth the money.
Here is another thing I did not know when I did this job. Moser says to “ Clean the housing end. Apply silicone around the face of the housing end and on the retainer/seal plate. I will gop back tomorrow, loosen the retaining bolts, slide the axle out far enough to apply the silicone.
