1997 American Dream 2014 04 14 Camping World Trailer Brake Repair
Click picture for larger image
This is a sore subject for me. Again I am writing to fill in gaps in coverage of projects.
You might ask why a trailer repair is under my Motor Home topic. It is because the trailer was “repaired” by an RV service center.
I have had many disappointments when dealing with RV service centers and as I go through and write pages to fill in gaps I will cover those problems.
The list of problem RV service centers includes Conway Volvo Truck & Bus, Caledonia RV, Camping World (Churchville, NY (now out of business)), the Power Generation division of Cummins in Buffalo, and a Freightliner Dealer (Tracey Road Equipment).
I have had one good experience lately with Regional International. They were expensive but the job was done right. I have always said I was willing to pay for good work. I would go back again to give them another trail.
This page deals with a brake job done 07 11 2014 by Camping World in Churchville
Let me preface this story with a little back ground.
I did brakes for a living (owned a brake shop) have now sold it and retired. I just did not want to do the brakes on my trailer, even though it is a straight forward easy job to do.
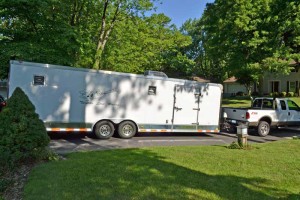
So I took my 2007 28 foot enclosed car carrier to Camping World to have them take a look at the brakes.
They called me up and told me it needed everything (backing plates, drums, brake shoes, Brake magnets) $1,773.16. I said go ahead and do it.
When I went to pick up the trailer the brakes were worse than when the trailer was dropped off. They said they needed to be broken in, I drove around in the parking lot with the brakes manually applied fully and they did nothing, drums did not even get warm. If I manually applied the brakes and put the truck in gear the truck pulled the trailer across the parking lot without raising the truck RPM above an idle.
That fact that I had to argue with them that there was still a problem with the brakes was mine boggling.
I asked to speak with the manager, he was not there the highest person of authority on the premise was the Sales manager, he called the service manager out.
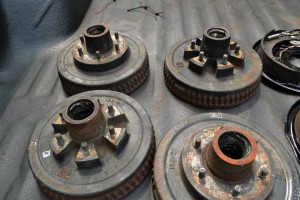
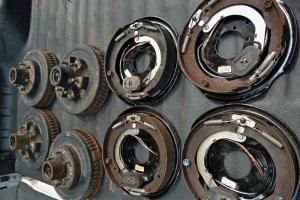
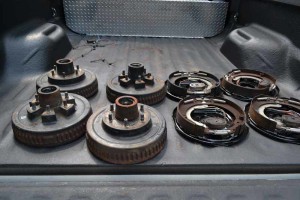
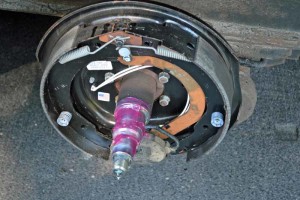
At that point I demanded my old parts. As you can see these parts were in very good condition. Original paint can clearly be seen on both the drums and the backing plates. The brake hardware is not even rusted, or for that matter dirty
The important thing with drum brakes is how much the drum is worn. I had the service manager look at the drums and read the max diameter off the outer edge (12.060). He pulled out a tape measure and said they were about 12. He was serious, about being able to get a reading on the drum opening with a tape measure. I was prepared for such a move on their part.
I had a digital drum gauge with me. I asked him to use it to re-measure the drums.
He re-measured with the drum gauge 11.560. He then stated the drums were in good condition with no need for replacement.
So the Service dispatcher, and the Sales Manager now both are in agreement that neither the drums nor the backing plates needed to be replaced.
After several weeks of discussion and threatening to get the New York State Department of Motor Vehicle Division of Motor Vehicle Safety involved, I received a full refund of $1,773.16 and all the new parts were left on the trailer.
Now we have to fix the brakes. Ok, time to start doing what I did not want to do and that was brakes on the trailer.
I have now completed the right side and these are the things I found wrong.
1) Lug nuts were not torqued to the right tightens (tight, but not tight enough.
2) The rear brakes were too tight (maybe an attempt to get the brakes to work).
3) The rear spindle nut was not tight enough (NO preload on the bearings, the drum could be moved in and out on the spindle a 1/16 of an inch without removing the spindle nut.
4) The seals were not seated all the way into the drums.
5) Next to no grease inside the Drum hub (not that it should be full).
6) There was VERY little grease in the bearings (not packed correctly).
What follow are the steps I went through on the right side of the trailer.
So I backed the trailer into the driveway.
Decided to work on the right side first.
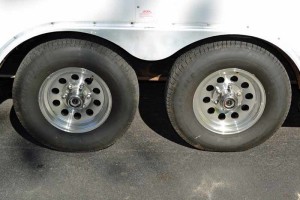 The tires need to come off first, lug nuts were tight, but certainly not to torque spec.
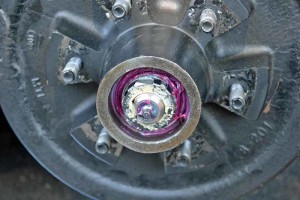
Found that the rear spindle nut was not tight enough, I could move the drum in and out a 1/16 of an inch without removing the nut. Correct method is to tighten the nut while spinning the drum until snug, then back off one flat of the nut.
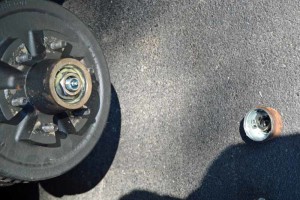
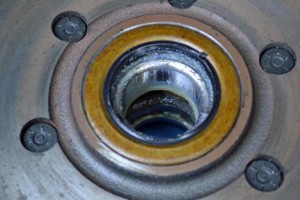
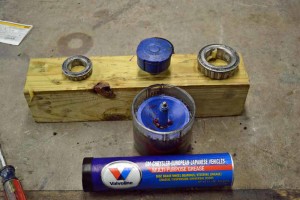
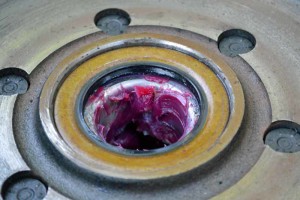
Found that the grease seals were not fully seated and that there was next to no grease in the drum hub (note the drum hub should not be full but there should be some grease in it). The first picture shows both those things (seal not seated, just flush with the lip of the drum, and no grease in the hub).
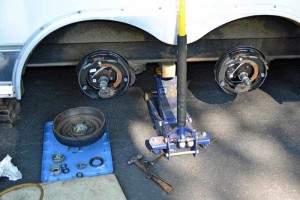
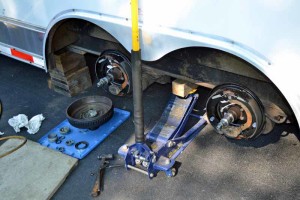
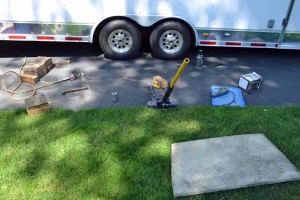
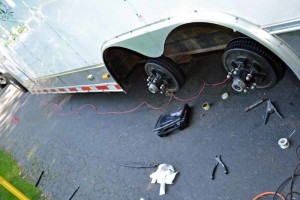
Ok, so the right side is completely apart (and yes of you look to the right in the picture the trailer is supported with blocks).
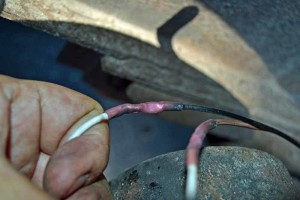 It appears that a good job was done on the electrical connections, I elected not to take this side apart. I really wish I had taken these connections apart because of what I found later on in this job. I still need to go back and look at these connections
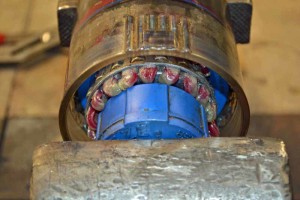
I saved all my tools, learned the lesson never sell a tool as you get nothing for them and as soon as you sell one you need it. This is a bearing packer and does a great job. The bearings are the ones from the trailer (seals said dexter on them, bearings are from china).
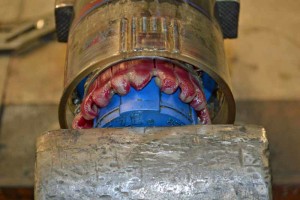
This is a photo of the bearing in the packer, I am using red grease, brand can be seen in the previous photo. Note that it came out right away (leading edge white, indicating very little of the grease that was used to pack the bearings a CW)
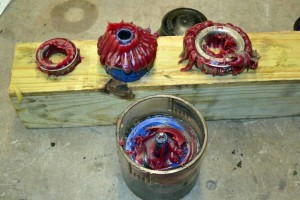
Now these bearings are PACKED with grease, excess can be wiped away.
So…. now back together we go…. a little grease on the spindle.
Seal seated correctly.
Correct preload on the bearings and spindle nut retainer in place.
Wheels back on, brakes adjusted, and trailer back on the ground. Although the job was done extremely shoddily I did not find anything that would cause the brakes not to work. I will not take you through the other side as it is more of the same. I did find the cause of the problem on the other side, actually under the trailer.
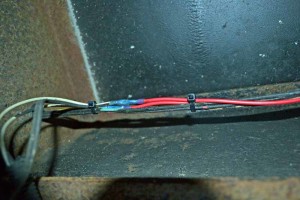
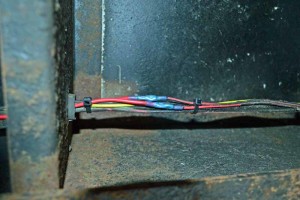
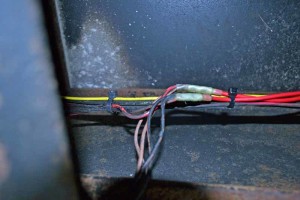
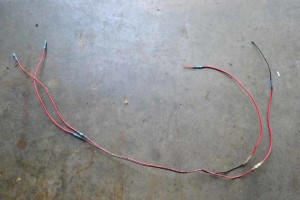
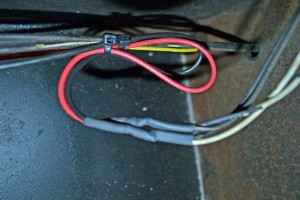
What I found under the trailer was the way Camping World had connected the new brakes was to use crimp connections, and to use a set for each set of brakes, meaning there were Eight crimp connection with in a span of four feet, which I ripped out.
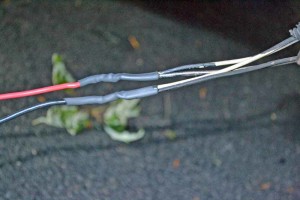
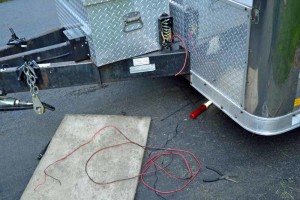
I ran a single set of 12 gauge lines from the brakes to the front of the trailer. There is one connection point for the front axle and a second connection point for the rear axle. This connection points have been soldered, and then sealed with heat shrink.
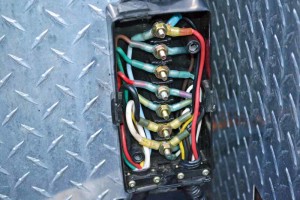 At the front of the trailer I have installed a proper connection box for all the lights and the brakes. I now wish I had looked at the connections they made between the backing plates and the trailer wiring harness. I am going to have to go back and look at this.
When I created this page, my wife was concerned that it might create a lawsuit. I’m not concerned at all because all I’ve done is communicate what actually happened. If a lawsuit was to happen, it would only hurt them.
