Dinosaur Refrigerator Control Board 2017 06 02
Click picture to see larger image
The refrigerator in this RV is going to be brand new except for the box. I replaced the cooling unit last summer that project can be seen here:
Part 1 of 3 on the refrigerator removal and install
Part 2 of 3 on the refrigerator removal and install
Part 3 of 3 on the refrigerator removal and install
The refrigerator keeps perfect temperatures for 24 hours (35 degrees in the refrigerator and 0 degrees in the freezer when the temperature control is set to 3.
After that, the cabinet on top of the refrigerator starts to get pretty warm to the touch. I do not believe it is the thermistor as the refrigerator keeps such nice temperatures, but may end up replacing it when I add the ARP control on top of the TODAY’S PROJECT. ARP Web site https://www.arprv.com/products.php
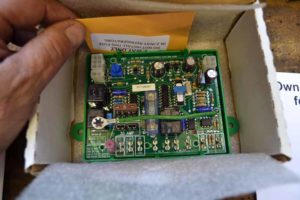
So what is today’s project? I’m going to replace the original Dometic refrigerator control board with the Dinosaur control board. There are good reviews on these boards and the boost of some features not offered on the original board, some of which include Built-in temperature control, detects eyebrow control panel failure, surge protection. Dinosaur Electronics web site http://www.dinosaurelectronics.com/
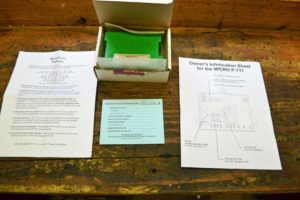
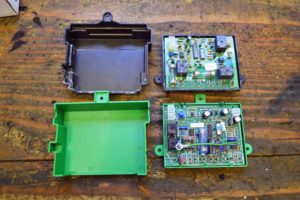
I found the instruction easy to follow and the install went well, for the most part. This is what you get when the unit arrives.
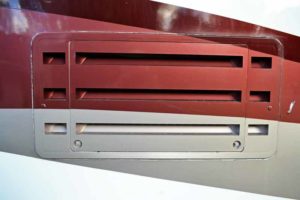
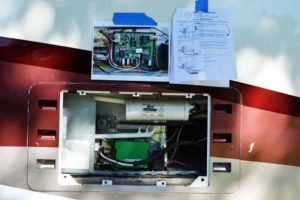
We all know where the control box is located, time to remove this panel again to get to it
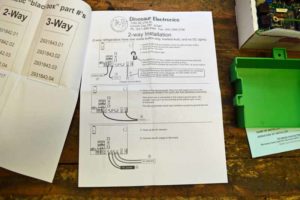
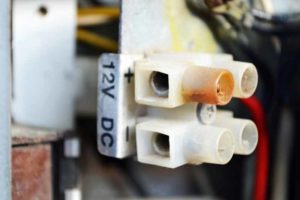
The first thing to do is to disconnect the power. In my case, I have a two-way unit (A/C and Propane). So the power consists of 110 volt and 12 volts, both of which need to be disconnected.
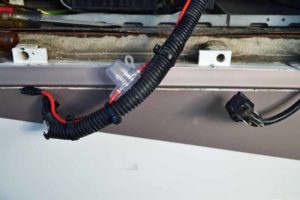
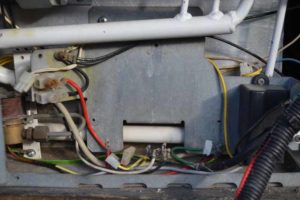
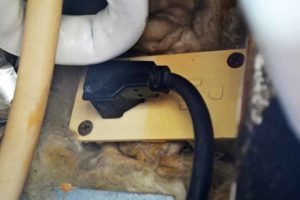 The 110 volt supply is nothing other than a plug into an outlet, however the designers of this RV put it in one heck of a spot. I can only reach it with a long pair of needle nose pliers.
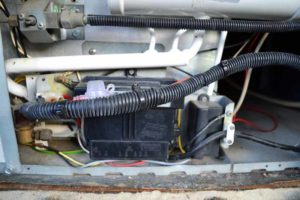 So let’s go after the 12 volt power supply next. I taped the ends of the 12 volt wires so that they would not short to themselves or anything else.
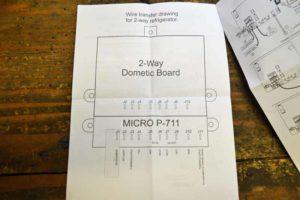
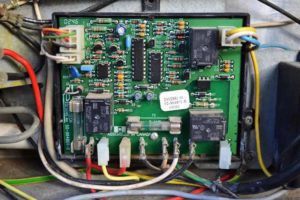
After you remove the black cover, one screw on the top and two snap fasteners on each side, the first thing you should do is take a good picture of where all the wires get connected, print that picture out and tape it right above the opening , I also taped the instruction there for easy reference.
So now we are beyond the point of no return. There are slit differences between the connector pins between boards. The Dinosaur board has more pins as it can be used for both two and three way systems. It also has two additional grounds. The instructions detail the additional grounds and the additional pin for D/C operation which I do not have.
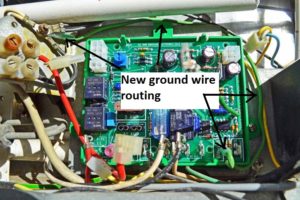
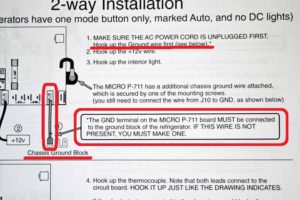 So this is one of the only stumbling points in the install. They mark the first thing to do is to disconnect the power, and then instruct you to “Hook up the ground wire FIRST”.
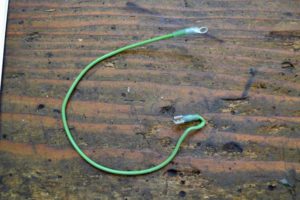
This ground wire is not supplied, you have to make it up. It also goes on a terminal that is not on the original control board. They do clearly show you where it goes.
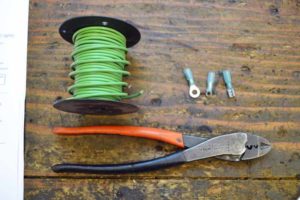 So I gathered materials to make up the new ground wire and installed it first as instructed. Not sure what it does as the negative of the 12 volt supply is connected to the ground stud and the negative for the control board comes from that stud so it seems to be a redundant ground, but I did what they said.
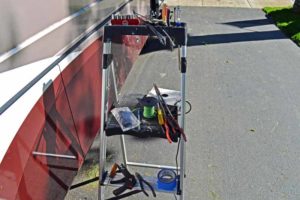
It always surprises me all the tools that end up being pulled out to complete a task.
I have tested the board and everything seems to function correctly. No A/C the refrigerator fires up on propane, supply A/C and the refrigerator switches over to A/C
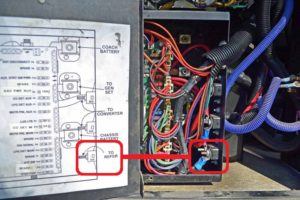 Just a by the by, if you should happen to trip the 12 volt breaker for the refrigerator it is located in the battery control box. In my motor home it is a 30 amp breaker, there must have been an option to have a three way refrigerator in this motor home because that is way more than is needed to run the refrigerator on Propane.

