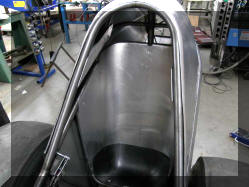
2010 Front Engine Dragster Week 2010 08 15
REMEMBER TO CLICK PICTURES FOR MORE DETAIL / LARGER PICTURE
I will be heading out to Indiana the end of this coming week. There should be very little of the dragster in the shop. The frame has been stripped for powder coat and the body should be in the finishing stages.
I would call this update a pictorial of the death (finish) of this phase of the project by a thousand needles (lots of small tasks being completed).
The pictures used for this update are from both myself and Roo Man, that is why there are two aspect ratios in the pictures displayed on this page.
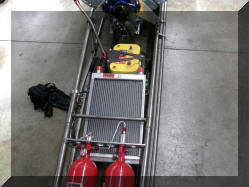
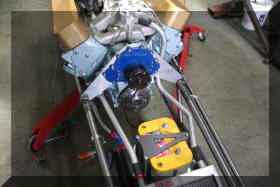
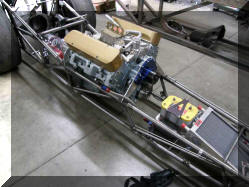
Battery placement is complete. This is easier said than done as there is a bunch of stuff that wants to occupy the same space, mainly the oil filter and radiator. The battery installation includes a volts gauge to monitor the condition of the battery as there is no alternator in the car. The reasoning behind that is weight and patristic HP loss of the alternator. Current plan is to have two batteries, one on charge and one in the car and swap them between rounds.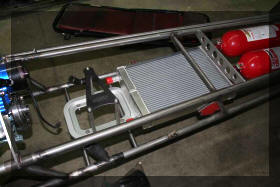 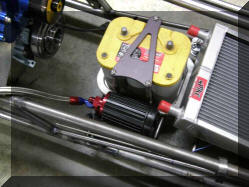 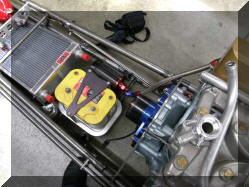 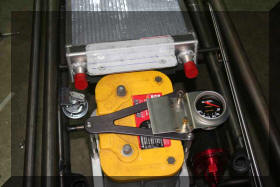 |
|
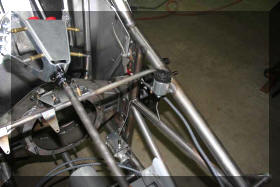 The master cylinder has been installed with a remote reservoir. This makes checking the level easier and eliminates the need for residual valves in the brake lines. The master cylinder has been installed with a remote reservoir. This makes checking the level easier and eliminates the need for residual valves in the brake lines. |
|
The chute mount is coming along. Note that the frame work that will hold the chute in place is removable by pulling pins.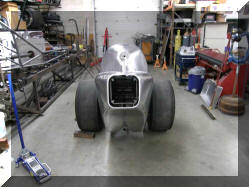 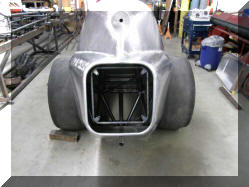 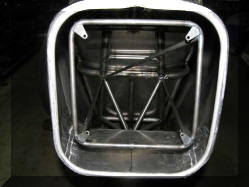 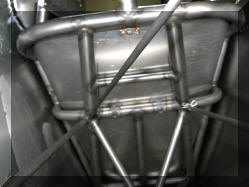 |
|
| The coolant system is coming along; yes this dragster will have a radiator. I will be either ET racing or Index racing. The key to either of those classes is reaction time and consistency of elapsed time. If, in the future I decide that speed is the most important thing, weight can be removed, and HP can be added. In fact a blower engine is already in the planning stages. | |
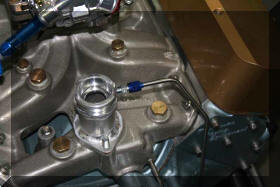 Here we see the start. The over flow tube is routed to the puke tank, the filler neck is in place, but the out flow tube has not yet been welded in place. Here we see the start. The over flow tube is routed to the puke tank, the filler neck is in place, but the out flow tube has not yet been welded in place. |
|
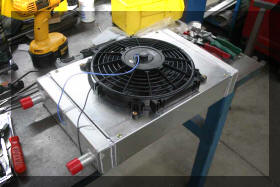 This is a custom build radiator by Spike Products, 464 Johnson Lane, Brownsburg, In. http://www.spikeradiators.com/ It is a double core and should be able to keep the engine cool on the return road. The shroud was built by Roo Man. This should eliminate the need for a tow vehicle, and simplify racing. This is a custom build radiator by Spike Products, 464 Johnson Lane, Brownsburg, In. http://www.spikeradiators.com/ It is a double core and should be able to keep the engine cool on the return road. The shroud was built by Roo Man. This should eliminate the need for a tow vehicle, and simplify racing. |
|
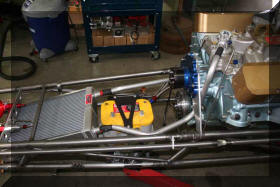 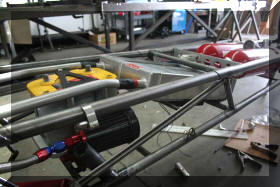 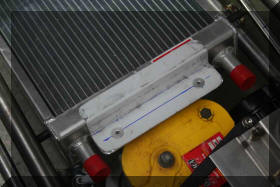 Here we see the routing of the hard tube coolant lines. The one to the filler neck has been remade since this picture to give more clearance near the battery and is more upright in the vertical plane to the filler neck. In the last picture is the mounting bracket to the vehicle. Here we see the routing of the hard tube coolant lines. The one to the filler neck has been remade since this picture to give more clearance near the battery and is more upright in the vertical plane to the filler neck. In the last picture is the mounting bracket to the vehicle. |
|
Fire bottles are in, and the first fire nozzle is pumped. 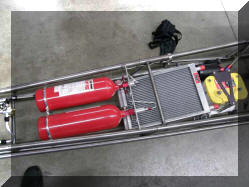 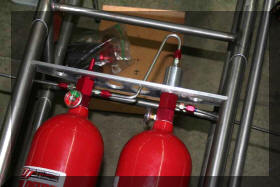 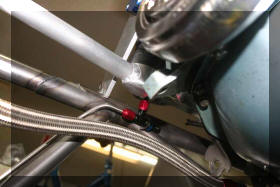 |
|
| The fuel system is in. To start with I will be running the engine that came out of the Firebird. It will be gas, carbureted. The plan is to build a second engine that is blown. It is still up in the air as to whether it will start its life as gas or alcohol injection. I would like to start with gas, but there is considerable pressure to go right to alcohol injection (on the new engine). The tank can be seen here. 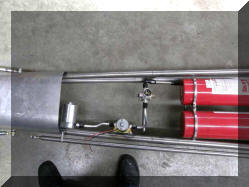 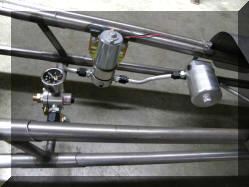 |
|
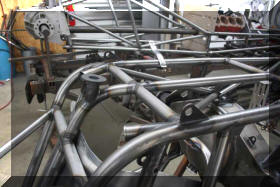 The jack pad on the bottom of the chassis is in place and the tabs for the jack stands are welded on. In the back ground of this picture you can see the start of the next Roo Man project. He cannot wait to get this chassis out of the shop. The jack pad on the bottom of the chassis is in place and the tabs for the jack stands are welded on. In the back ground of this picture you can see the start of the next Roo Man project. He cannot wait to get this chassis out of the shop. |
|
A great deal of time and effort has gone into making the nose of the dragster just right.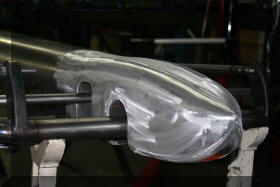 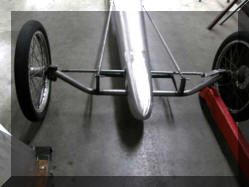 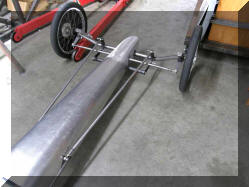 |
|
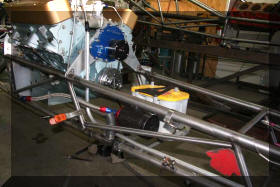 The remote oil filter has been installed. You can see another angle of the filter in the shots of the coolant system The remote oil filter has been installed. You can see another angle of the filter in the shots of the coolant system |
|
This dragster is being built to look as nostalgic as possible. It will there for have a push bar at the rear, not that it will ever be used, but it will have the use of serving as an anchor spot for the chute. As with any dragster, space is at a premium, the puke tank will be mounted inside of the frame work for the push bar.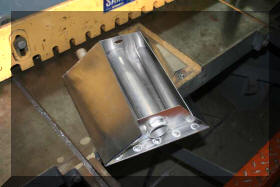 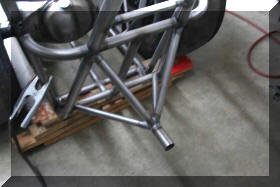 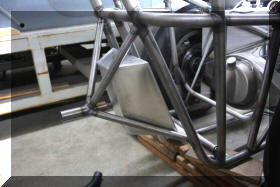 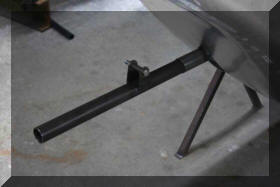 |
|
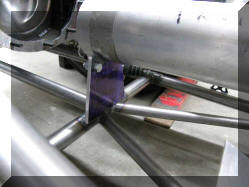
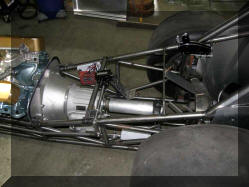
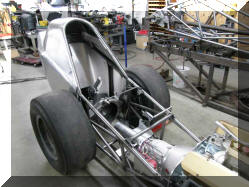
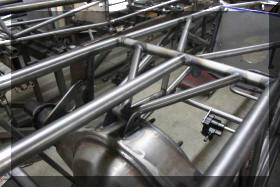
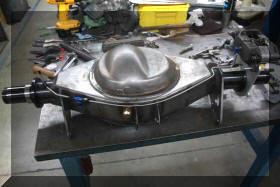
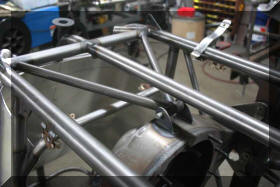 The first version of the anti-rotation device was fabricated from the rear of the chassis to the differential. It was found that this made removal of the differential difficult so it was redone from the tube under the driver’s feet. A drain plug has been installed in the differential case. The third member has been ordered in aluminum and the axles will be Gun drilled for strength and weight. The first version of the anti-rotation device was fabricated from the rear of the chassis to the differential. It was found that this made removal of the differential difficult so it was redone from the tube under the driver’s feet. A drain plug has been installed in the differential case. The third member has been ordered in aluminum and the axles will be Gun drilled for strength and weight. |
|
|
|
The electrical shut down switch is in place. There will be a stupid switch in the cockpit.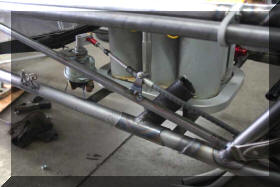 |
|
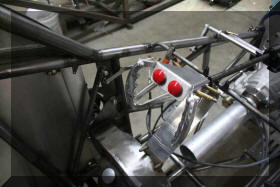 The steering “wheel” has had two buttons installed, one for the transmission brake and the second one for the shift function. Also a center console has been added to contain switches for main power on, start, fan, fuel and fuel pump The steering “wheel” has had two buttons installed, one for the transmission brake and the second one for the shift function. Also a center console has been added to contain switches for main power on, start, fan, fuel and fuel pump |
|
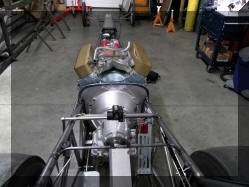
The engine has been pulled and the chassis flipped to complete welding on the chassis.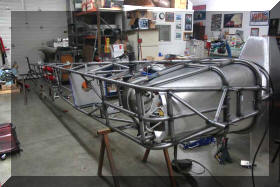 |
|
